Shop Now

Sunday, October 21, 2012

Stick Pins

Hi ! Everyone.
This going to be a short post. I've been trying a lot of new crafting ideas lately. First it was mini albums which I am still hooked on. But since I have been making them I have started making stick pins and charms to go on them. I had to learn some jewelry making skills, but it turned out to be really easy. Of course You Tube helped.

Here are some stick pins I made.

I also made a beach theme set for a swap at 2 Shabby Sisters Studio.
I love Graphic 45 papers. This is from On the Boardwalk. I will be making  more stick pins to go on my projects. I just need to build up my bead stash. I have looked on several sites for supplies but not sure which ones to use. If anyone has some suggestions on sites for beads and jewelry making give me a shout.

Next time I will post some charms. I will be making some to go on Christmas albums which I will be making.
I need to locate some Christmas themed charms.

Well that's it for today. Leave a comment if you have suggestions or just want to add your 2 cents.
Happy crafting and Bye Bye for now.
Kim

Sunday, September 23, 2012

Itty Bitty Halloween Mini

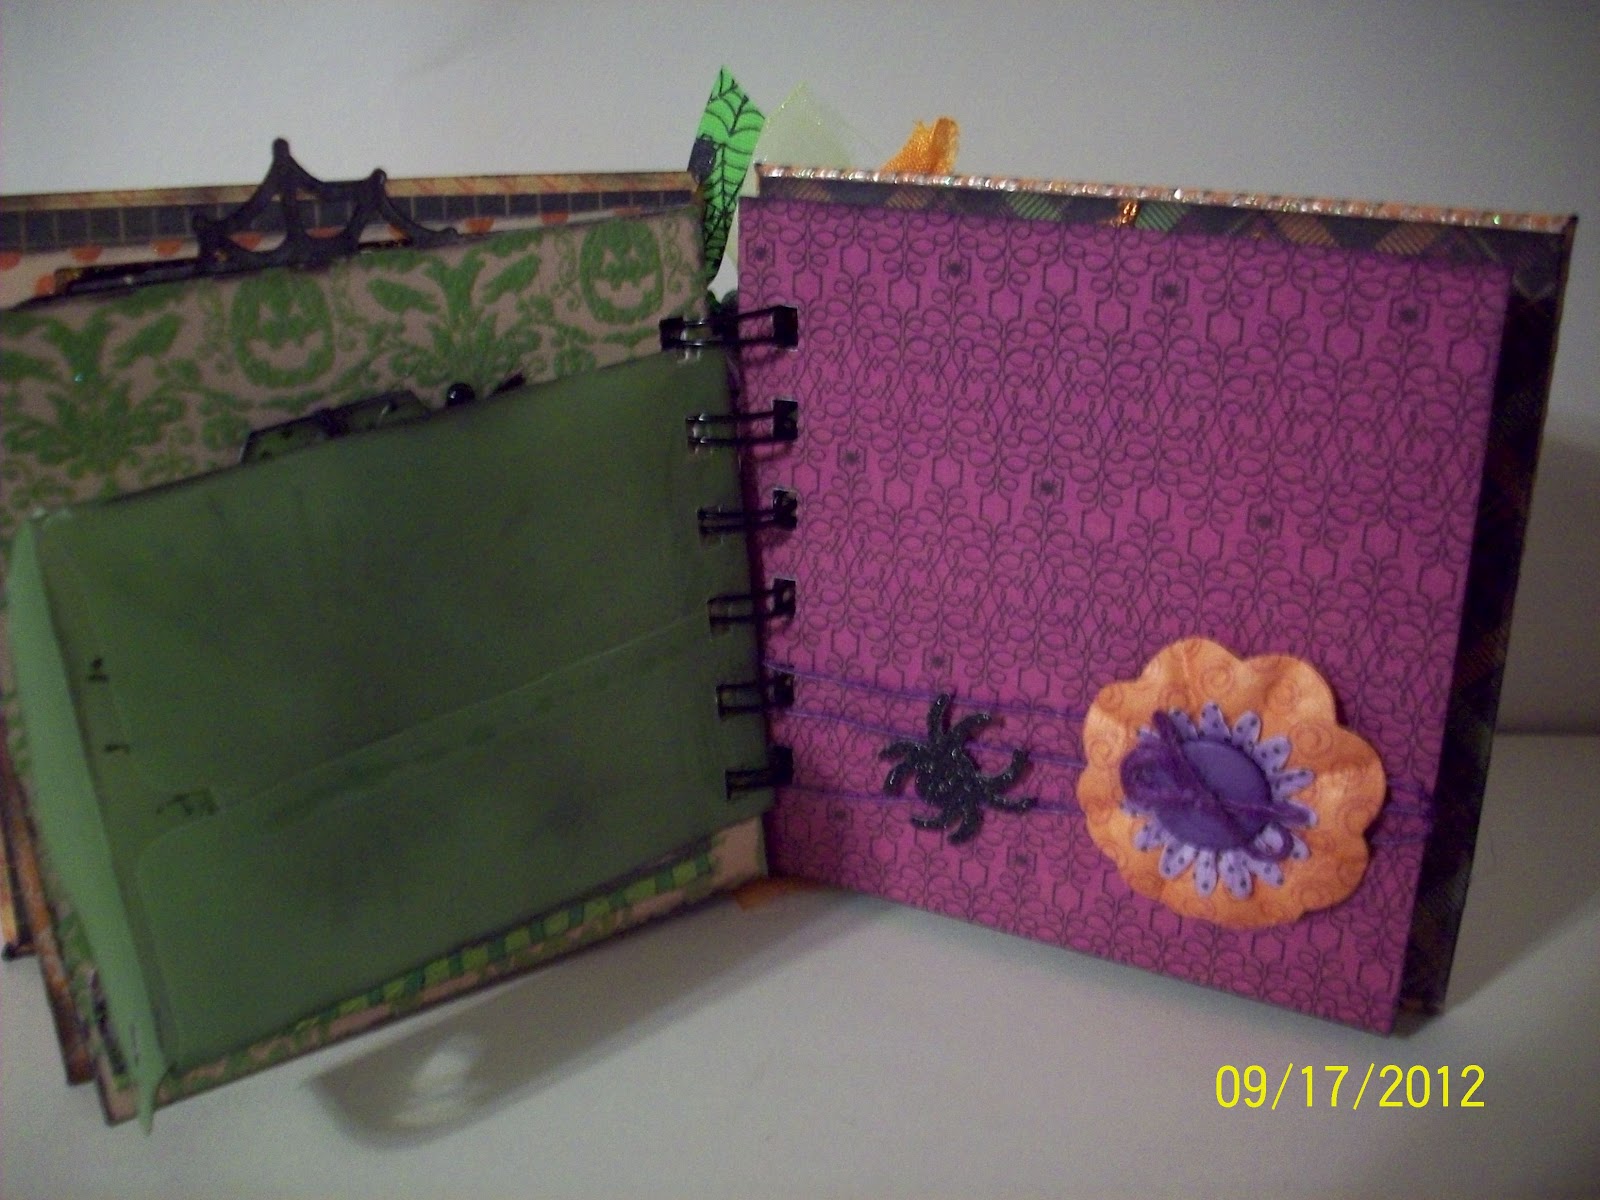
Today I want to share a Halloween Mini Album I made for a challenge at 2 Shabby Sisters Studio and a swap a Scrapin Vintage. The album is 4x4 and I bound it with my Bind It All. I made a charm to hang from the rings and used some of my orange seam binding tied to the rings along with ribbon I used inside the album.  There are 6 pages with frames for pictures and tags to journal. I have a lot of photos
 Here is the cover.


This is a photo of the inside cover and the first page.  The little booklet  opens and has a place to put two pictures or to journal.

This next page has a frame I cut with MCT die from the fall release. I used this Halloween stamp/die set for all the stamping in this Mini. I put Stickles around the edges and left the top open to slide a picture in.  The Boo is also a stamp from this release and I cut the vellum envelope from Wild Card cartridge on my Cricut
                                     

Next page shows the tag that is inside the envelope. I used Glimmer Mist but it doesn't show up too well in the picture.The orange page has a photo mat inside. The spider web is the pull. The reverse side has a spot to journal.
The next page is one of my favorites.  I love the witch's hat and shoes and the sticker that came with the paper that say god witch bad witch. By the way the paper stack I used is Bewitched by DCWV. The acetate frame on the opposite page I have had for years and finally found something to use it in. A picture can be slipped inside easily.
This page has a coffin I cut from Happy Haunting. It has three layers, the first is acetate and I traced the flourish onto it with black Glossy Accents. The next is green and black polka dot which you can see in the background and the last layer is black with a skull sticker. The green vellum envelope also has a tag inside. I really like the purple page with the twine as a spider web and the spider.
Here is a detail of the tag. All the brads I used are from Martha Stewart.
This is the last page and the back cover page.  I like the chandeliers and didn't want to cover them up so I glued a sticker from the paper pad on two sides so a picture could be placed inside.  The back cover has another acetate piece, the fence and the house is from the paper pad.  The spooky sticker is from K and Company the same as the witch's hat and shoes. The outside of the cover was covered with paper but no embellishments were added.

Well this has been a long post.  If you've made it to the end I want to say thanks for looking. Please add comments if you like what you see.  I would love feedback. Have a Happy Halloween and keep crafting.

Bye Bye for now, Kim

Saturday, August 25, 2012

CRINKLE RIBBON

HI Everyone.  I have been busy working on Mini albums.  I am hooked on them and have been using different techniques. Another thing I have been doing alot is dying my own seam binding.  Its really easy and I like making ribbon that will coordinate with my projects. 

Here is a picture of some of the colors I have made.  The orange is for a Halloween mini album I am making. I found some cute Halloween paper by DCVW called "Bewitched".

Here are a few projects I have made using the crinkle ribbon.

Of course the other one is a mini album.

I enjoyed sharing my projects with you. Happy crafting
Bye Bye for now,
Kim


Tuesday, August 14, 2012

BITTEN BY THE BUG 2 ELEPHANT CHALLENGE

This is my first challenge at BBTB2. I think elephants are so adorable and wanted to try making a card with one. Here is my submission.

I used 2 Cricut cartridges, Cricut Sampler and Country Life. The elephant was cut at 2 1/2"  from page 49. I used the shadow and bonus feature.  The banner was cut at 1 1/2 from the Country Life cartridge.

I made the card A2 size using blue card stock.  I then cut kraft paper slightly smaller and used my EK success corner punch.  The papers I used where Echo Park Dots and Strips.

The crinkle ribbon I made using seam binding I dyed myself using Tattered Angels Glimmer Mist. I found several very good tutorials on You Tube.

For dimension I used pop dots to pop the banner off the page. I used matching embroidery floss to string the banner across the card.

How do you like the goggle eyes on my elephant? Cute right!

Join me in this elephant challenge over at BBTB2. Hope you have as much fun as I did.

Bye for now and keep on crafting with the Cricut.
Kim


Sunday, July 29, 2012

WEDDING BLISS FCCB #121


My wedding card was made using "Paper Doll Dress Up".  I used the bride and groom cuts on page 30 and 31.  I only cut out the clothes, top hat and veil.  I wanted a more grown up look.  Cutting out the paper dolls looked too childish to me. My cut was 2 1/2".   

I used my white gel pen and Black Diamond stickles on the tux and Crystal stickles on the gown.
The stamp I used for the sentiment was something I had but I don't know who it's by. I think it was a generic stamp.

The ribbon is from Walmart. It was left over from when I made the wedding favors.  You may remember them from an earlier post. I made the bow tie and sash from a small piece.
I think it turned out cute.  Wish me luck in the challenge over at Fantabulous Cricut Challenge Blog.

Bye Bye for now
Kim

Sunday, July 22, 2012

Hi ! I've been busy making mini albums and today I would like to share three that I have finished.  I discovered two websites that I have used their designs. One is Paper Phenomenon, Kathy Orta is so talented and generously shares her designs on you tube.  The other equally as talented is Laura Denison at Follow the Paper Trail.  I used Laura Denison's stack the deck method which she demonstrated on you tube for two of the albums and Kathy Orta's envelope and card tutorial that is on her you tube channel.


The first mini album I made for a friend.  I used a K and Company paper stack that I have had for a long time. I used my Cricut to cut some of the borders using the Rosette and Ribbons cartridge.


Here is an example of one of the pages.  There are a total of six.  The pages are envelopes and I cut the papers to make photo mats that fit inside.  The acetate border is secured on three sides so a picture can be  put inside. On each section I put journaling spots.

The second mini is a Halloween photo album.  I used Kathy Orta's design using envelopes and cards.  The paper I used is from DCWV Ghost and Goblins Stack. I used Tim Holtz's Ideology charms.  The binding is duct tape.  You should check out Kathy Orta's tutorial.


The third album i made as a gift for my brother and his wife you got married in June.  I used a combination of the two previous designs.  I used stack the deck method by Laura Denison and added the cards from Kathy Orta's design.  The paper I used is Graphic 45 Le Romantique.  I love this paper collection.


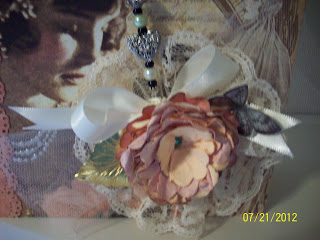
Here is a close-up of the corsage detail.  I made the paper flowers on all the albums.  I also made the stick pin.  The gold leaf is a pin and I tea dyed the lace.


Here are some examples of the pages I made inside.  This album also had six pages.  I divided the album into   
different parts of the wedding, such as the first kiss and first dance.  I left it so they could add the pictures to it.  I love the way it turned out.  I almost hated to give it away.


This has been a long post.  I hope you have liked my mini albums.  My next one will be a baby album.  I found some really cute paper a Tuesday Morning on sale for $4.99 by Anna Griffin.  Can't wait to get started.  Let me know what you think.  If you would like more info please asked and I will answer to the best of my ability.  Thanks for stopping by.

Keep on crafting and have a wonderful day.
Kim

Saturday, July 14, 2012

BLOG REDESIGN

HI EVERYONE!  Just a short post today. I wanted everyone to see my redesigned blog.  I am so proud of the way it looks.  All the credit goes to Sharon at plumroselane.com. She has awesome designs and great customer service.  I highly recommend her if your looking to fix your blog and your like me and not to computer savvy.

I have been really busy at work, lots of overtime for crafting dollars but not much time to craft.  I have discovered mini albums and right now I am really hooked on making them. I have some I will share in the future.

LEAVE A COMMENT IF YOU LIKE THE REDESIGN AND KEEP ON CRAFTING AND BLOGGING.
KIM